P4
Learners edit their production materials to produce a competent original audio-visual promo, by:
a) logging rushes and creating an edit decision list
b) producing and reviewing an off-line edit
c) applying appropriate visual effects and transitions
d) linking audio to visuals and applying audio effects
A) Logging Rushes and Edit Decision List
B) Producing and Reviewing Off-Line Edit
C) Visual Effects and Transitions
Shot 1
Before
This is a VFX shot of an animated heart that I created in using the software MAYA. A red skin was applied to the model within MAYA before it was animated and exported to an MP4 format.
After
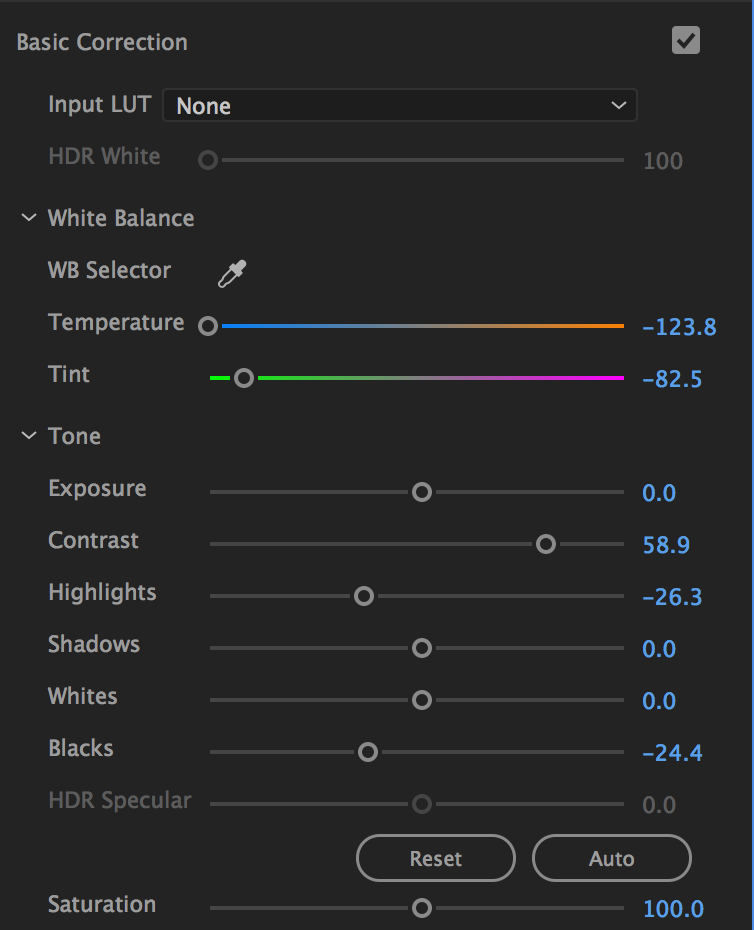
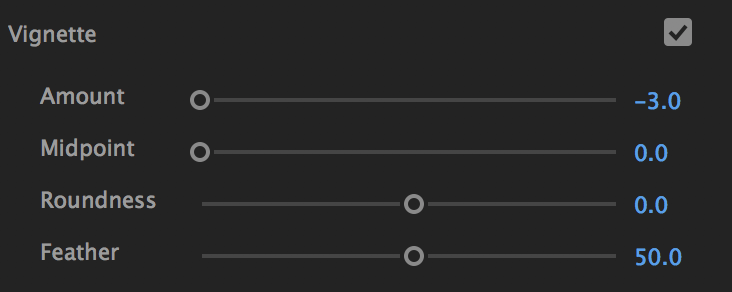
Within Premiere, I adjusted the levels of the shadows and highlights as well as added a vignette to create a darker tone to the image.
Shot 2
Before
After

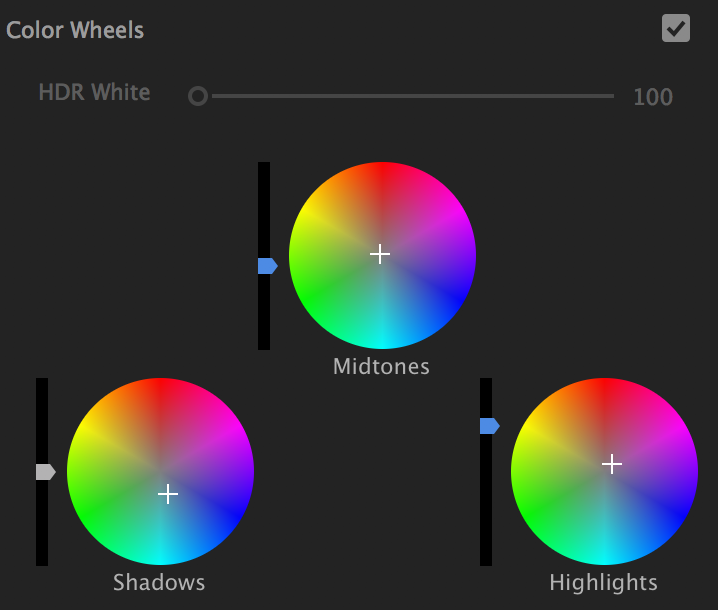
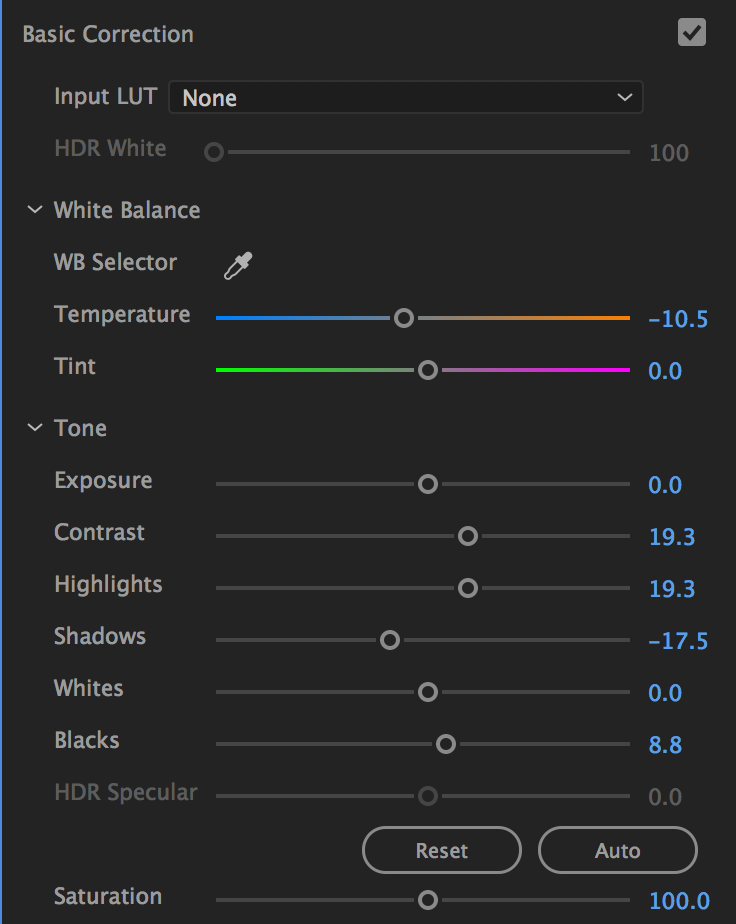
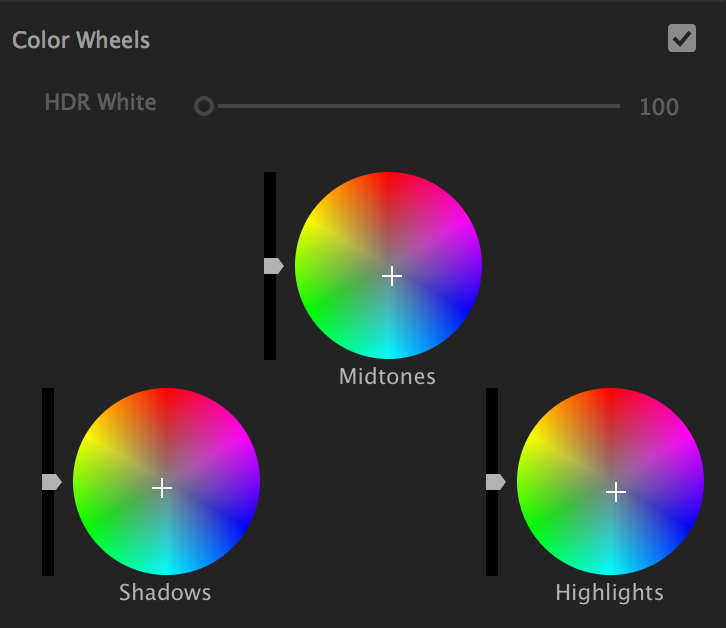
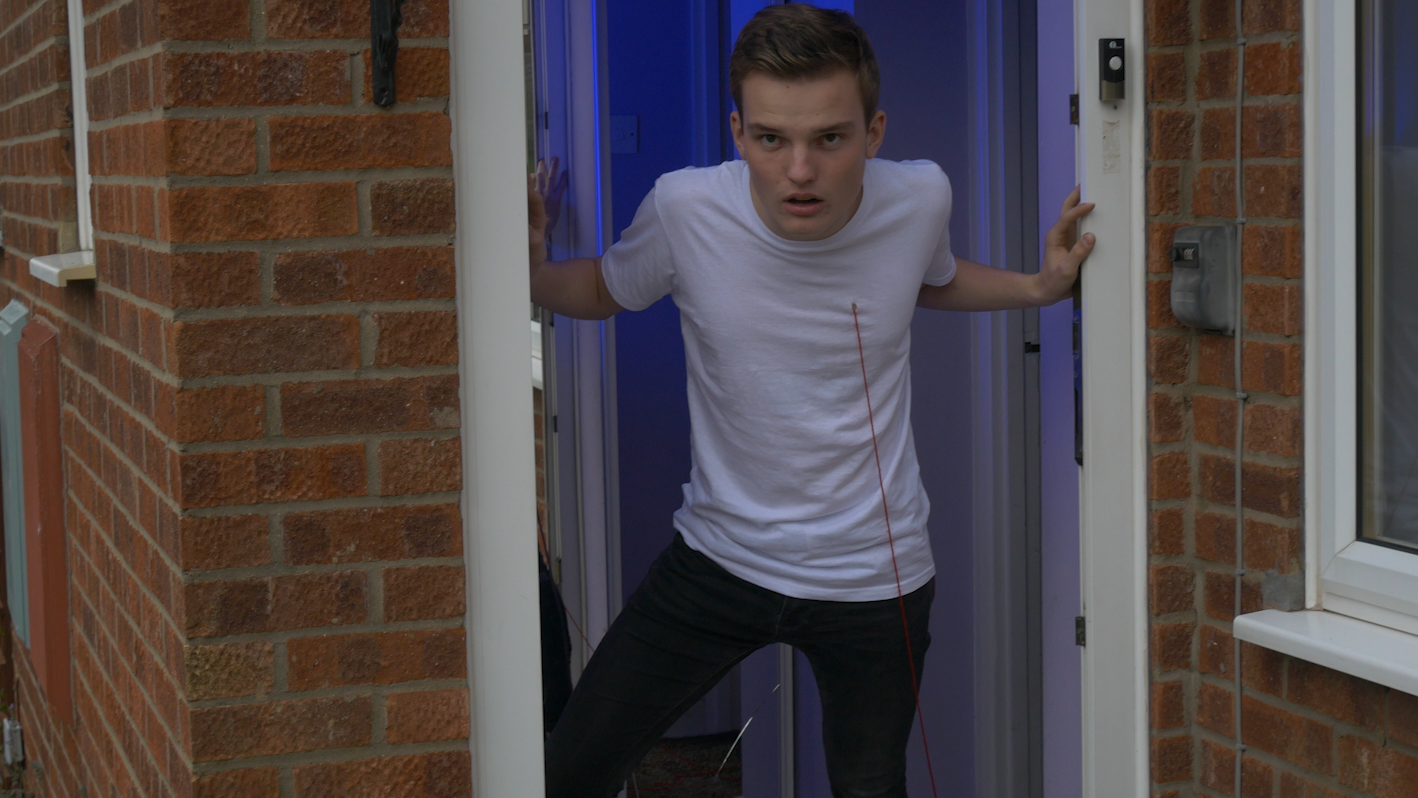
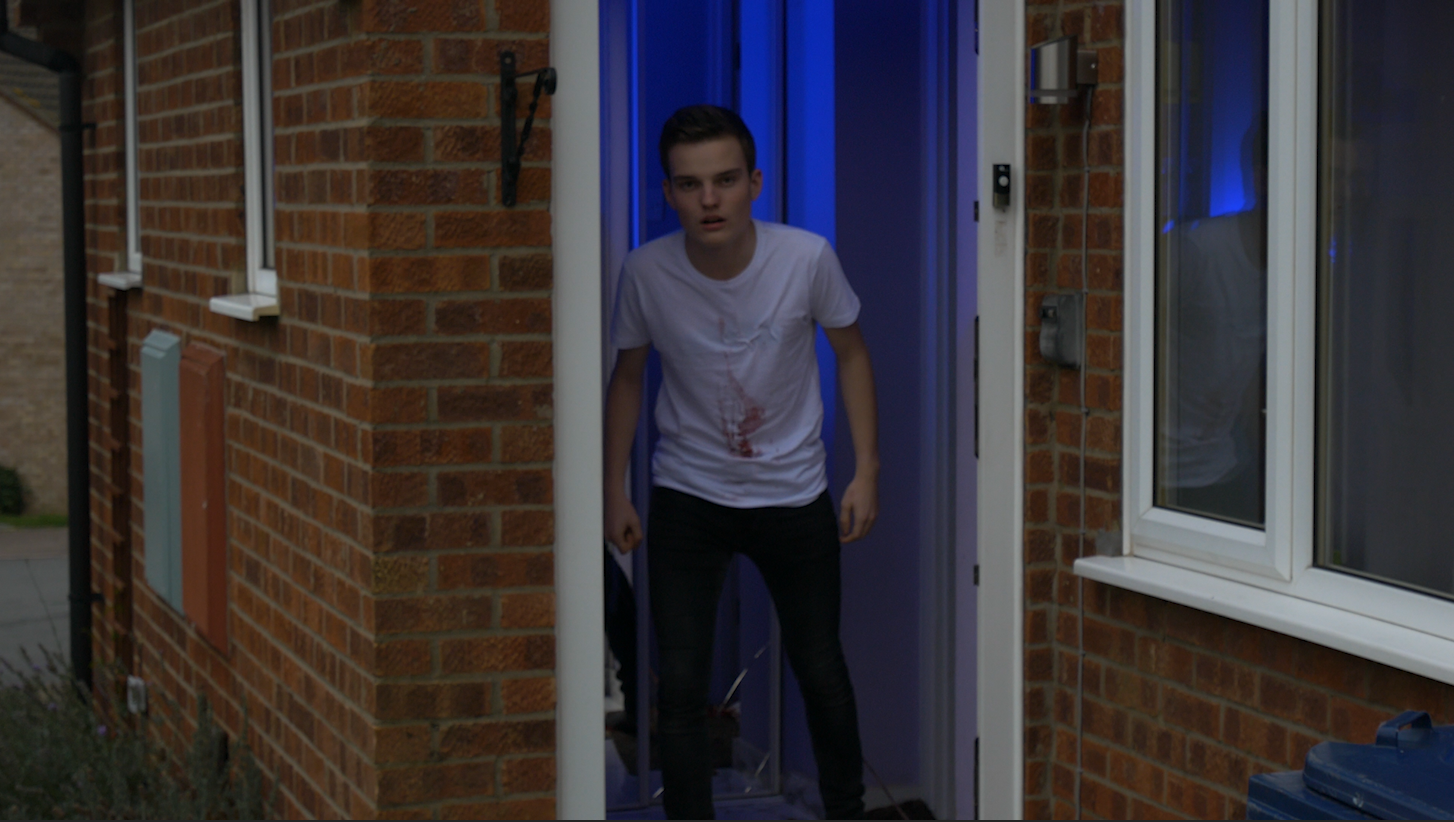
For this shot, I adjusted the shadows and highlight, blacks and white, to create contrast. I also altered the curve levels and the colour of the shadows, mid-tones, and highlights to create a slightly colder and grimy image.
Shot 3
Before
After
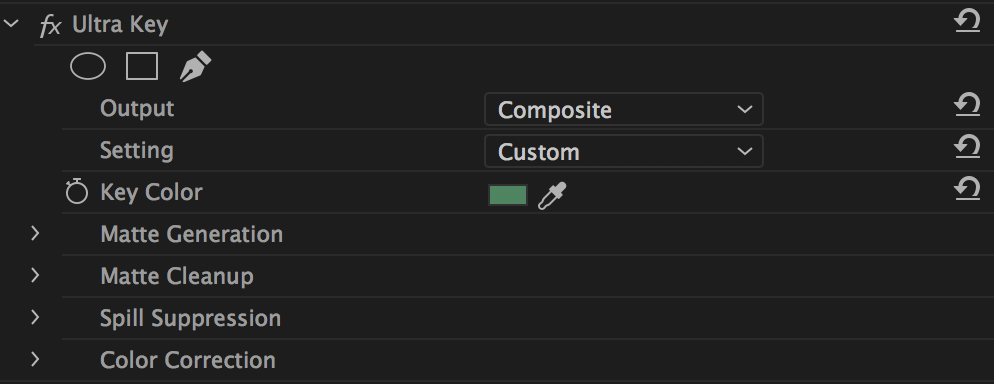
A green screen was used to help create this shot. In post-production, it was then keyed out and a clip of a portal I had created in after effects using the Noise effect was composited in. The key effect had to be adjusted to get rid of as much of the green as possible however it was not completely successful as there are slight outlines of it around the actor's body.
Shot 4
Before
After

I placed an Additive Dissolve between the two shots to help create a feeling of all of these different shots melding together to show Adam experiencing a range of feelings. I also added different colour grades to the shots to further instil the difference in his feelings.
Shot 5
Before
After
For the final shot, I had the crop/bars and colour grade that I had applied to the scene gradually fade out to create the effect of reality sinking in as Adam realises his situation - Jennifer has finally gone.
D) Linking Audio to Visuals and Applying Audio Effects
Rough Cut
The feedback I received from my rough cut was to shorten the beginning shot as well as the ones towards the end as they drag on too long.
Cutting to the beat
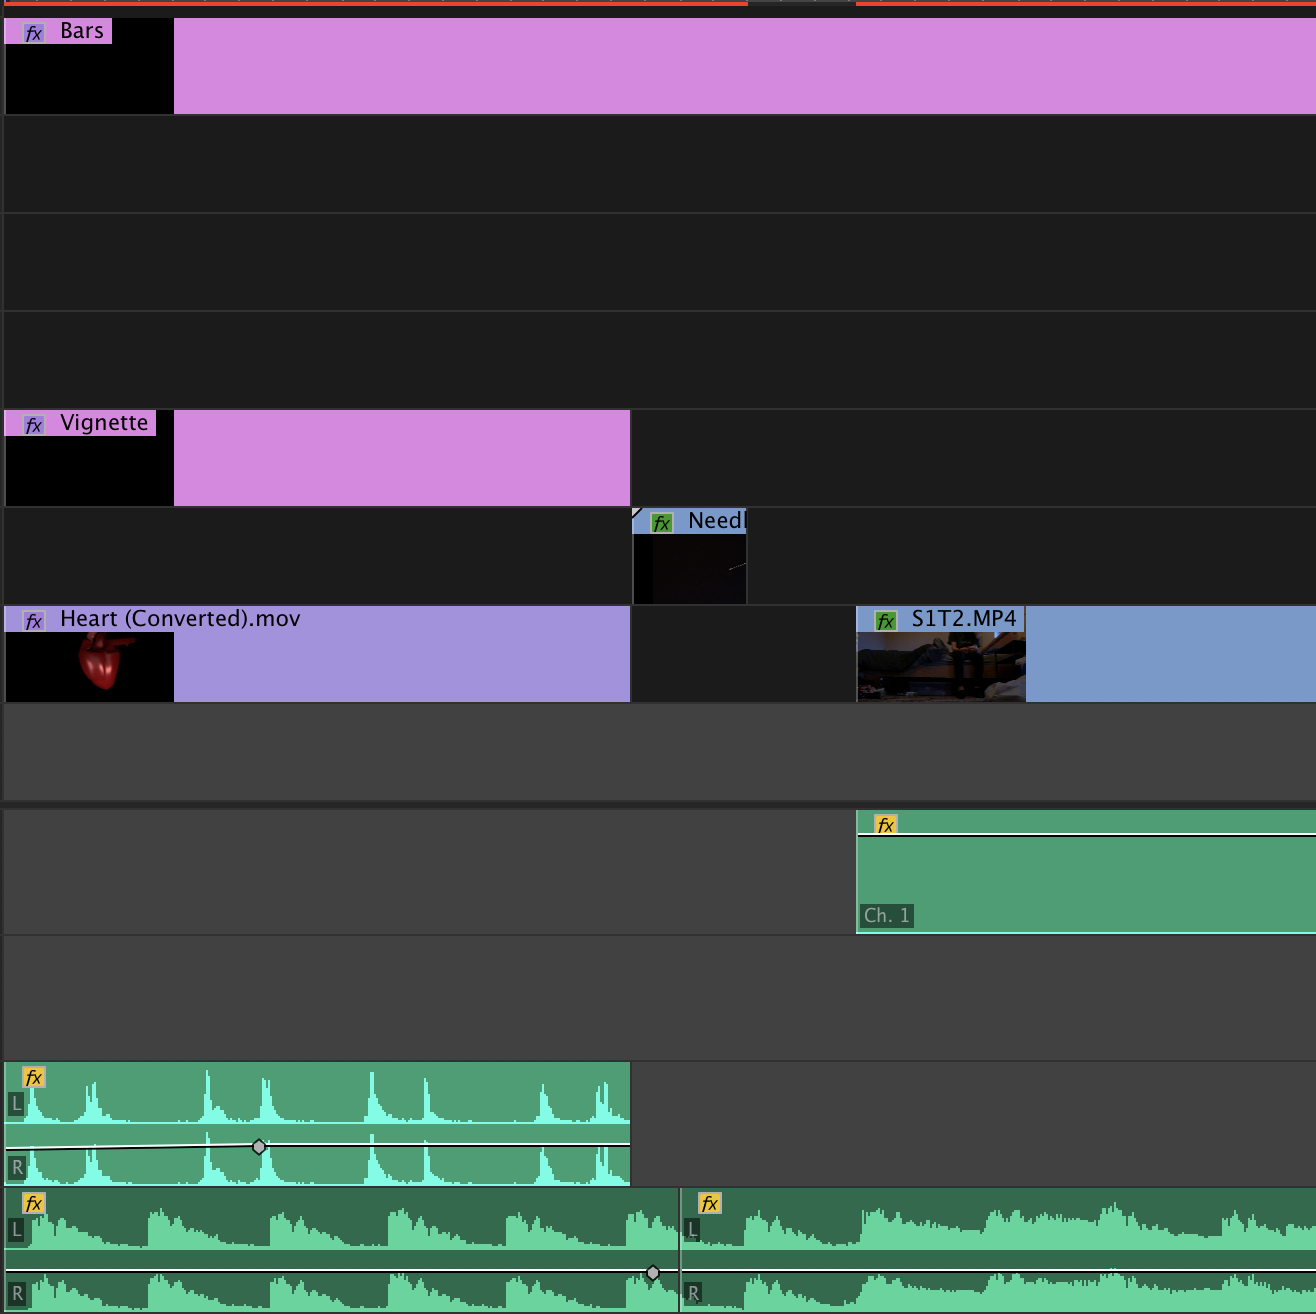
Throughout the edit, I cut the footage to come in or end with the main beat of the song in order to help connect the visuals to the music and develop a natural pace/tone.
Lip Syncing
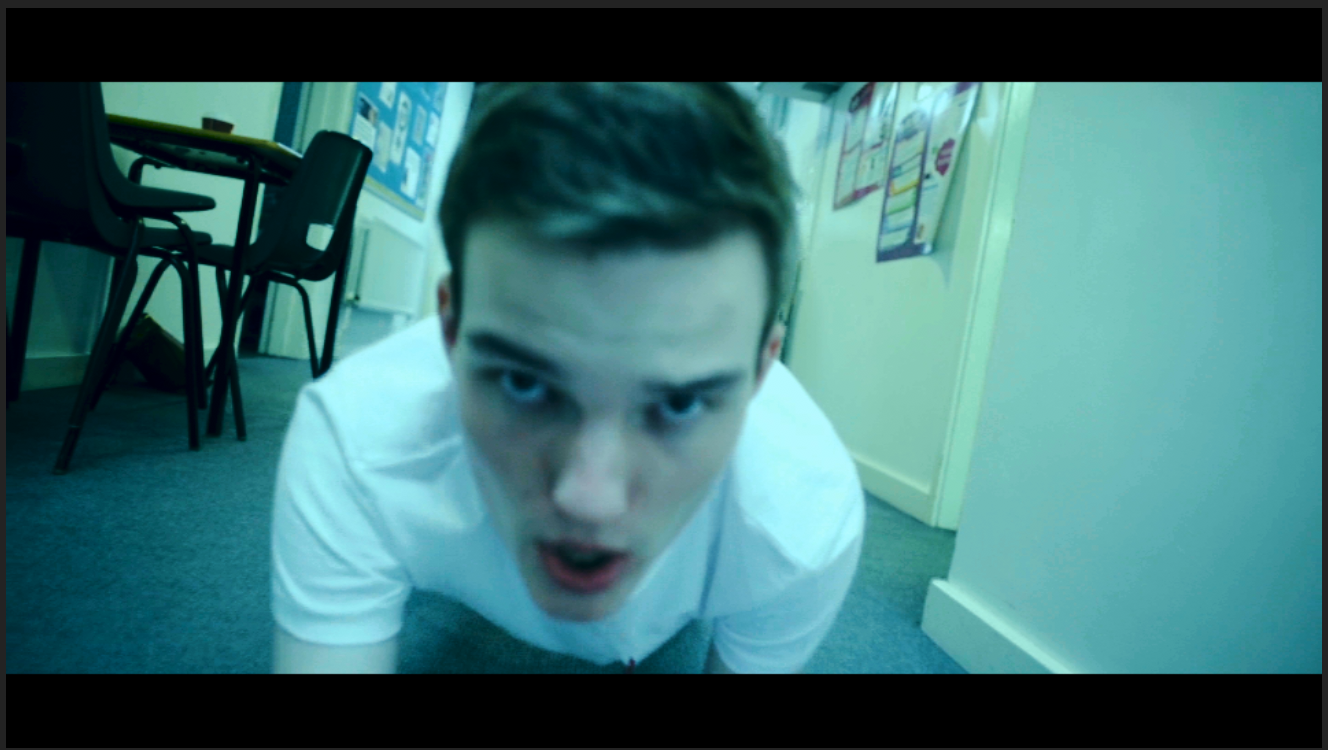
There were a few sections that involved lip syncing. This is the on of Adam crawling after Jennifer and saying "Crawling Back To You". During recording, I played the part of the song where the lyrics being said were so that the actor could lip sync to them. In editing I noted where the lyrics were said in the song and then aligned the visuals to it.
Atmosphere and Sound Effects
The only scene that we recorded sound for was Scene 2 to make it stand out from the rest of the video and feel like reality. Under the first shot is the Atmos of the room which I have cut down and crossfaded together. The rest of the clips sound has been amplified in order to enhance and emphasise it.
The sound effects used were a heart beating and a door slamming.
Linking the Visuals
In order to create meaning between the lyrics of the song and the visuals, I created a visual narrative to match the one within the song about a guy being obsessed with a girl by showing the deteriorating relationship of Jennifer and Adam and him being unwilling to let her go. One of the clearest links is when Adam falls to the floor and crawls after Jennifer while lip-syncing the lyric 'crawling back to you'
Final Edit
a) logging rushes and creating an edit decision list
b) producing and reviewing an off-line edit
c) applying appropriate visual effects and transitions
d) linking audio to visuals and applying audio effects
A) Logging Rushes and Edit Decision List
B) Producing and Reviewing Off-Line Edit
C) Visual Effects and Transitions
Shot 1
Before
This is a VFX shot of an animated heart that I created in using the software MAYA. A red skin was applied to the model within MAYA before it was animated and exported to an MP4 format.
After


Within Premiere, I adjusted the levels of the shadows and highlights as well as added a vignette to create a darker tone to the image.
Shot 2
Before


For this shot, I adjusted the shadows and highlight, blacks and white, to create contrast. I also altered the curve levels and the colour of the shadows, mid-tones, and highlights to create a slightly colder and grimy image.
Shot 3
Before
After


A green screen was used to help create this shot. In post-production, it was then keyed out and a clip of a portal I had created in after effects using the Noise effect was composited in. The key effect had to be adjusted to get rid of as much of the green as possible however it was not completely successful as there are slight outlines of it around the actor's body.
Shot 4
Before

After

I placed an Additive Dissolve between the two shots to help create a feeling of all of these different shots melding together to show Adam experiencing a range of feelings. I also added different colour grades to the shots to further instil the difference in his feelings.
Shot 5
Before
After

For the final shot, I had the crop/bars and colour grade that I had applied to the scene gradually fade out to create the effect of reality sinking in as Adam realises his situation - Jennifer has finally gone.
D) Linking Audio to Visuals and Applying Audio Effects
Rough Cut
The feedback I received from my rough cut was to shorten the beginning shot as well as the ones towards the end as they drag on too long.
Cutting to the beat

Throughout the edit, I cut the footage to come in or end with the main beat of the song in order to help connect the visuals to the music and develop a natural pace/tone.
Lip Syncing
There were a few sections that involved lip syncing. This is the on of Adam crawling after Jennifer and saying "Crawling Back To You". During recording, I played the part of the song where the lyrics being said were so that the actor could lip sync to them. In editing I noted where the lyrics were said in the song and then aligned the visuals to it.
Atmosphere and Sound Effects
The only scene that we recorded sound for was Scene 2 to make it stand out from the rest of the video and feel like reality. Under the first shot is the Atmos of the room which I have cut down and crossfaded together. The rest of the clips sound has been amplified in order to enhance and emphasise it.
The sound effects used were a heart beating and a door slamming.
Linking the Visuals
In order to create meaning between the lyrics of the song and the visuals, I created a visual narrative to match the one within the song about a guy being obsessed with a girl by showing the deteriorating relationship of Jennifer and Adam and him being unwilling to let her go. One of the clearest links is when Adam falls to the floor and crawls after Jennifer while lip-syncing the lyric 'crawling back to you'

Final Edit


Comments
Post a Comment